The following instructions will guide you through the installation process of our plugins.

Step 1: Downloading the License Manager
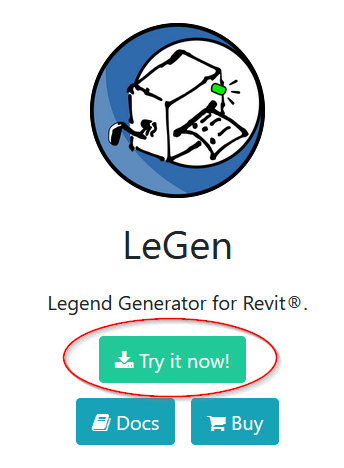
Clicking the Try it now! button in any one of our apps will download the installer for the Camilion License Manager.
This is a program that helps us manage licenses and keep your plugin updated to the latest version.
The License Manager installer can be found in the Downloads folder on our computer. When you have found it, double-click it and the installation will begin.
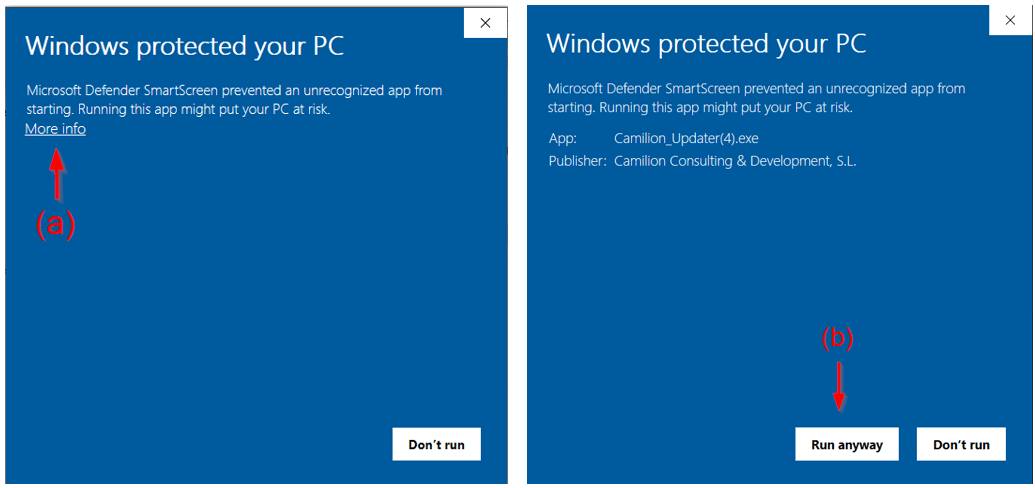
At this point, Microsoft Defender may give you a warning that you can ignore about the installation. Simply click on More info (a) and then Run anyway (b).
Step 2: Trial button
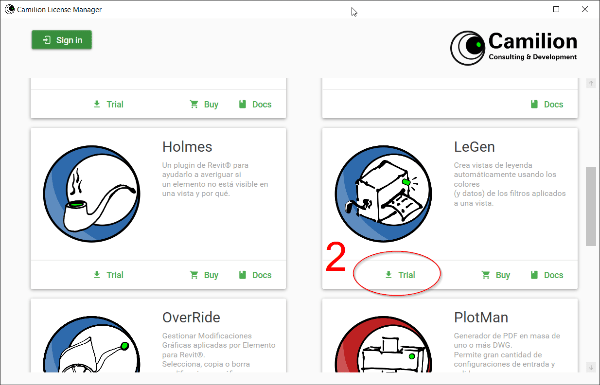
Once the License Manager is installed, we open it and look for the app that interests us (in this example we will install LeGen) and click the Trial button.
Step 3: Sign in
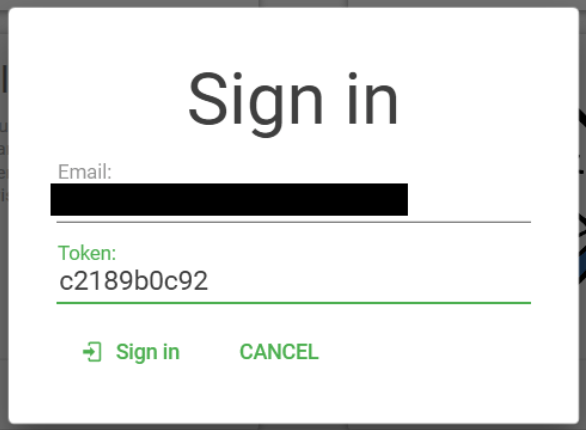
The License Manager will ask us to Sign In. We enter our email address to be able to obtain the token. The token will have reached our email and now we can use it to access the download.
Step 4: Trial activation
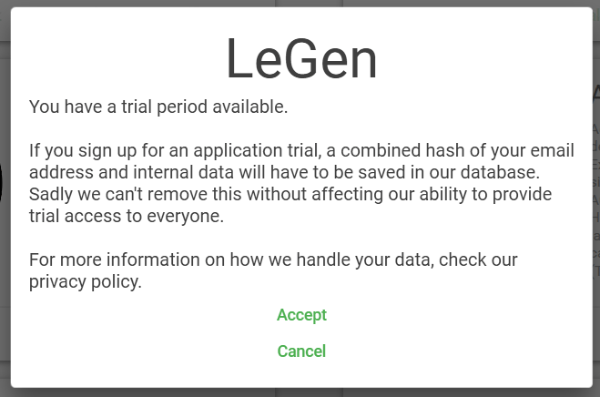
You are notified that you are about to start the trial period, click on Accept.
Step 5: Install button
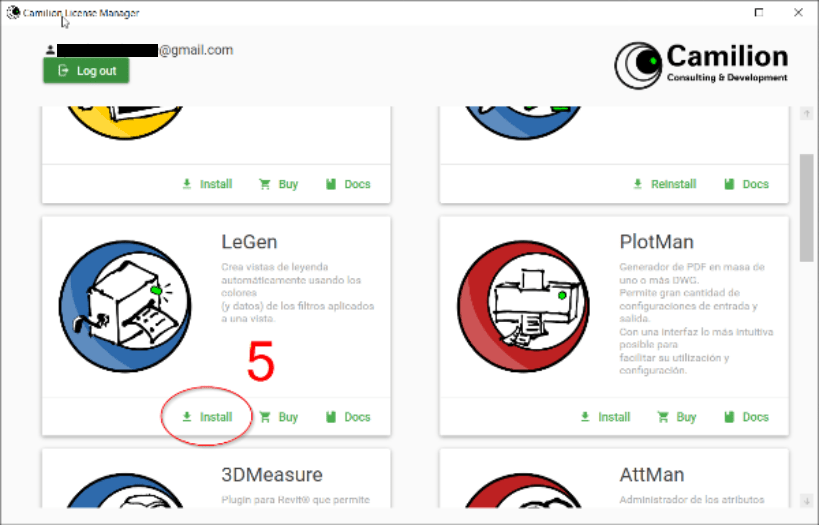
If you take a look at the License Manager again, you’ll see that the Trial button changed to an Install button.
Step 6: Install the plugin
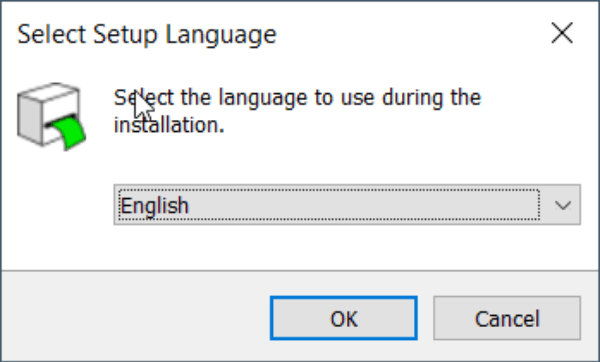
We click Install and follow the instructions of the installation wizard.
Step 7: Open the host application
Your plugin should be installed now.
If your host program was open during the installation process, you may need to close and reopen it for the plugin to display.
For Revit plugins, you will see that there is a new tab on your toolbar called Camilion. All the Camilion plugins you install will be displayed in this tab.

